

In this article, you will learn how to draw furry paws. Starting off on the right paw, start by drawing a line as shown in the first step. Continuing on, draw small curved lines as shown in the third step, and then cut these off with a sharp angled line at the end. After completing the paw, do it again on the other side until both paws are drawn.
What is a furry paw?
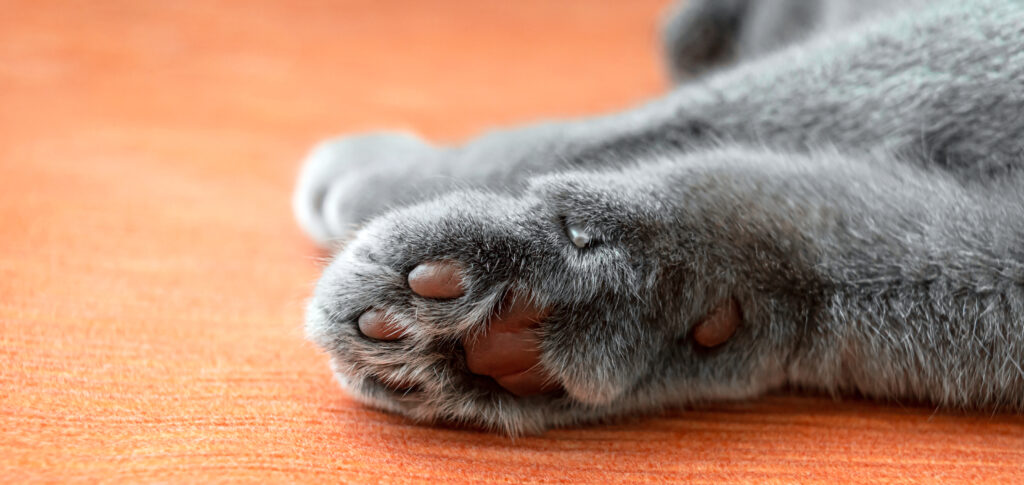
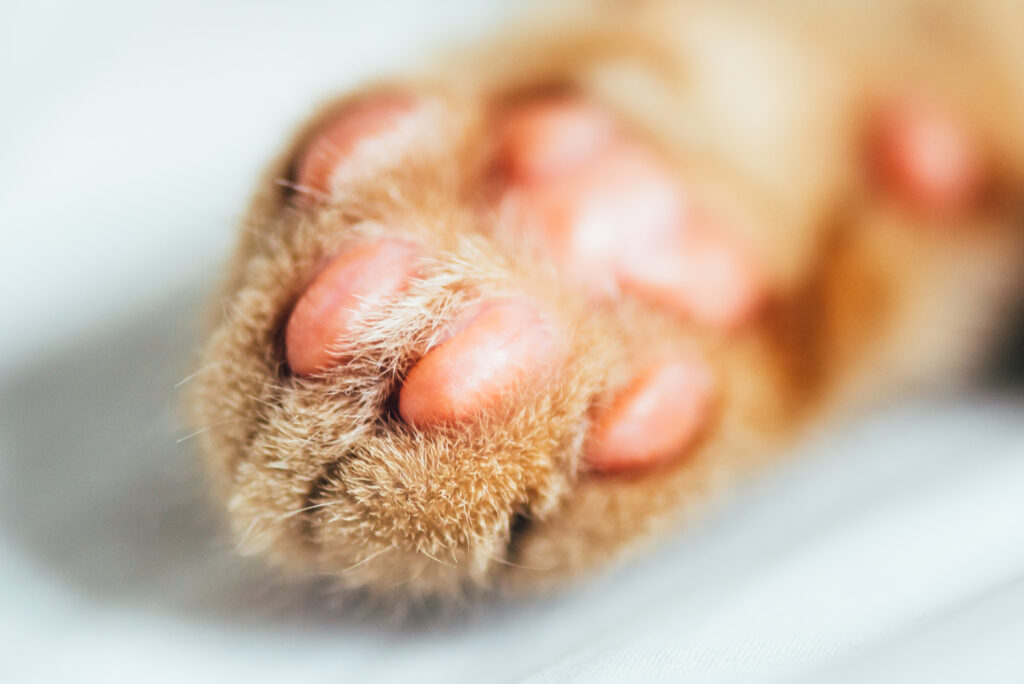
In order to understand how to draw furry paws, it is important to first know what a furry paw is. A furry paw is a foot that is covered in fur. This can be either natural fur, or artificially added fur. Furry paws are often seen on animals such as dogs, cats, and rabbits.
Furry paws have several benefits. Firstly, they help to protect the animal’s feet from the cold and wet weather. Secondly, they provide extra grip when the animal is walking on slippery surfaces. Finally, they simply look cute!
If you want to learn how to draw furry paws like an expert, then follow these easy steps…

Why would you want to draw furry paws?
Furry paws are not only cute, but they can also be a stylish addition to any outfit. Here are some reasons why you may want to consider drawing furry paws:
1. They add a touch of fun and personality.
2. They can help you make a fashion statement.
3. They can show off your creative side.
4. They’re a great way to accessorize an outfit.
5. They can help you express your individuality.
How to Draw Furry Paws with Pencils
If you’re looking to add some realism to your furry drawings, then look no further than this guide on how to draw furry paws with pencils! This simple step-by-step guide will have you drawing furry paws like an expert in no time.
First, start by sketching out the general shape of the paw. Next, add in some fur lines to give the paw more dimension and texture. Finally, finish off by adding in the details like claws and pads. With these easy tips, you’ll be drawing furry paws that look realistic and lifelike in no time!

How To Draw Furry Paws with Watercolors
If you want to know how to draw furry paws with watercolors, then you’ve come to the right place! In this blog post, we will be teaching you everything you need to know in order to create your very own furry paw masterpiece.
First things first, you will need some supplies. For this project, you will need watercolors, a paintbrush, and a piece of paper. Once you have gathered all of your materials, it’s time to get started!
To begin, wet your brush with some water and then dip it into your chosen color of paint. Next, start painting the bottom half of your paper with light strokes. Once the bottom half is complete, continue painting up towards the top of the page using slightly heavier strokes.
Now that the base color is complete, it’s time to add some details. Using a different color, add in some stripes or spots on top of the base color. You can also use this opportunity to add highlights by painting with a lighter shade than the base color.
Once you’re happy with the way your paw looks, allow it to dry completely before moving on to the next step. Now that it’s dry, use a black paintbrush to outline your pawprint. This will give it a more defined look and make it stand out against the background color.
And there you have it! Your very own furry paw print! We hope you enjoyed learning how to draw furry paws with
Idea for Trying this out
In order to try this out, you’ll need some supplies. First, you’ll need a piece of paper and something to draw with. I recommend using a pencil so that you can erase if you make a mistake. You’ll also want to have some reference materials handy. I like to use photos of real animals, but you can also use drawings or paintings. Once you have your supplies gathered, find a comfortable place to sit or stand and let’s get started!
To begin, we’ll start with the basic shape of the paw. It’s helpful to look at your reference material when doing this so that you can get an idea of the proportions. Draw a circle for the pad of the paw and two smaller ones for the toes. Then, add some lines for the nails and connect everything with curved lines for the foot.
Now we’ll add some fur. Start by drawing short, curved lines all over the paw. Make them thicker in some areas and thinner in others to create a sense of depth and dimension. Then, go back over these lines with a darker pencil or pen to give them more definition.
Finally, we’ll add some shadows to give the paw more realism. Using a dark pencil or pen, draw short lines in the direction opposite of the fur growth. Add more density in areas where the light would be blocked off more by the fur, such as under the toes or along the sides of the paw. And that’s it! With practice


